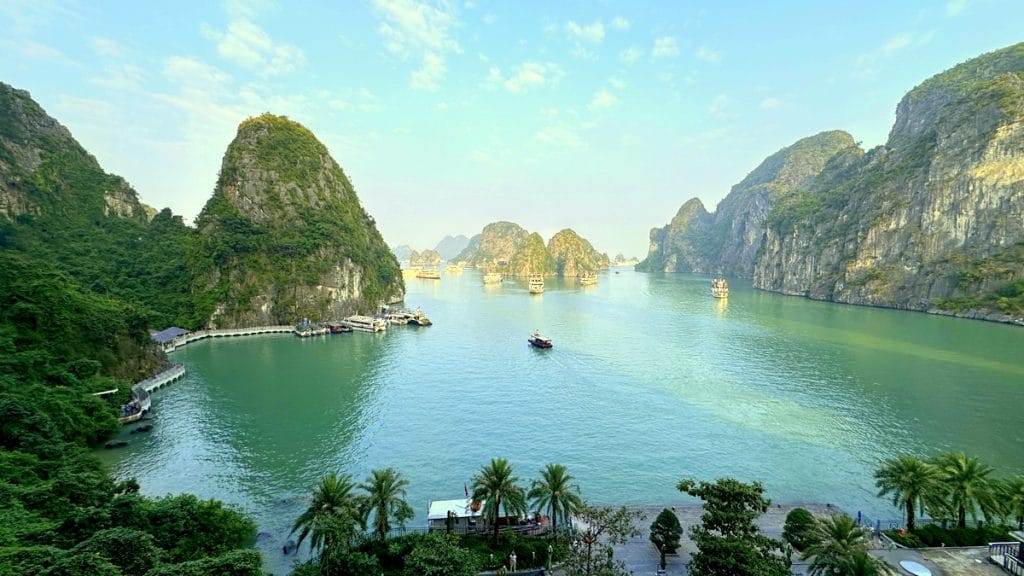
Vietnam has become one of Southeast Asia’s most popular travel destinations, known for its rich culture, delicious food, and beautiful landscapes — from the limestone peaks of Ha Long Bay to the lantern-lit streets of Hoi An. Before you can start exploring, though, you will need to apply for the right visa. Applying for a visa is a quick and convenient online process. Here’s a step-by-step guide to help you apply for an e-visa for Vietnam.
The Vietnam e-visa is an electronic travel authorisation issued by the Vietnamese Immigration Department. It allows foreign nationals to enter and travel within Vietnam for up to 90 days for purposes such as tourism, business, or visiting friends and family.
You can choose between a single-entry or multiple-entry visa that you receive via email — no physical visa sticker or stamp is required before arrival. You simply print it out and present it at the border.
As of 2025, citizens of over 80 countries, including South Africa, the United Kingdom, the United States, Australia, and most of Europe, are eligible to apply for an e-visa. However, visa policies can change, so it’s a good idea to double-check the latest list on the official Vietnamese government website before applying.

1. Visit the Official Website
Go to the official Vietnam e-visa portal: https://evisa.gov.vn/
Avoid using third-party websites that may charge extra fees or provide outdated information. The official site is secure, straightforward, and managed by Vietnam’s Immigration Department.
2. Complete the Application Form
Click on “Apply Now” then read and accept the declaration.” You will then be directed to an online form.
3. Upload Required Documents
The first step on the online form is to upload a passport photo of yourself and a photo of your passport information page.
The photo should meet the following requirements: be newly taken, clear, size 4x6 cm, jpg/jpeg format, size <2MB, straight face, no hat, no glasses, formal clothes, and have a white background and no lost corners.
The website calculates the percentage match between both photos and allows you to proceed if the match is satisfactory. In my case, it wasn’t happy with the first photo I submitted and gave me a warning that my application may be rejected. I then uploaded another photo and got the green light.
You then fill in your personal details, travel information, and passport data.
Information required includes:
Ensure that all information matches your passport exactly — even small discrepancies can cause delays or rejection.
Note: The website does not ask for proof of flights, accommodation or insurance.
4. Pay the Visa Fee
Once the form and documents are uploaded, you’ll be prompted to pay the non-refundable processing fee online using a credit or debit card.
As of 2025, the fee is US$25 for a single-entry visa and US$50 for a multiple-entry visa. Prices can change, so verify the latest rates on the official website.
5. Wait for Processing
After payment, you’ll receive a registration code — make sure to save it, as you’ll need it to check your application status.
Processing usually takes three working days, though it can take longer during public holidays or peak travel seasons.
6. Download and Print Your E-Visa
Once approved, you can download your e-visa directly from the portal by entering your registration code, email, and date of birth. Print a copy of the visa and keep it with your travel documents.
You’ll need to present it upon arrival at immigration in Vietnam, along with your passport.
The e-visa is accepted at 42 international checkpoints, including:
Be sure to enter and exit through the specific ports you listed on your e-visa application.
We received ours within 3 days and took printed copies with us, although they have a record on their systems as well.
See how to plan a trip to Vietnam.
See things to do in Huế.
See things to do in Hoi An.
Read about our cruise in Ha Long Bay.


Sara Essop is a travel blogger and writer based in South Africa. She writes about family travel and experiences around the world on her blog "In Africa and Beyond". Although she has been to 53 countries thus far, she especially loves showcasing her beautiful country and is a certified South Africa Specialist.